Getting started
This guide walks you through deploying Kapa: from your first AI assistant on documentation to expanding across your organization and building advanced integrations.
Head to kapa.ai to start your 14-day free trial. You'll be set up within hours with an assistant on your content.
Prerequisites
Sign up at kapa.ai and have the Kapa team set up your first project.
1. Connect your data sources
The Kapa team has likely already set up your initial data sources during onboarding. You can view and manage them in the dashboard at app.kapa.ai under Sources.
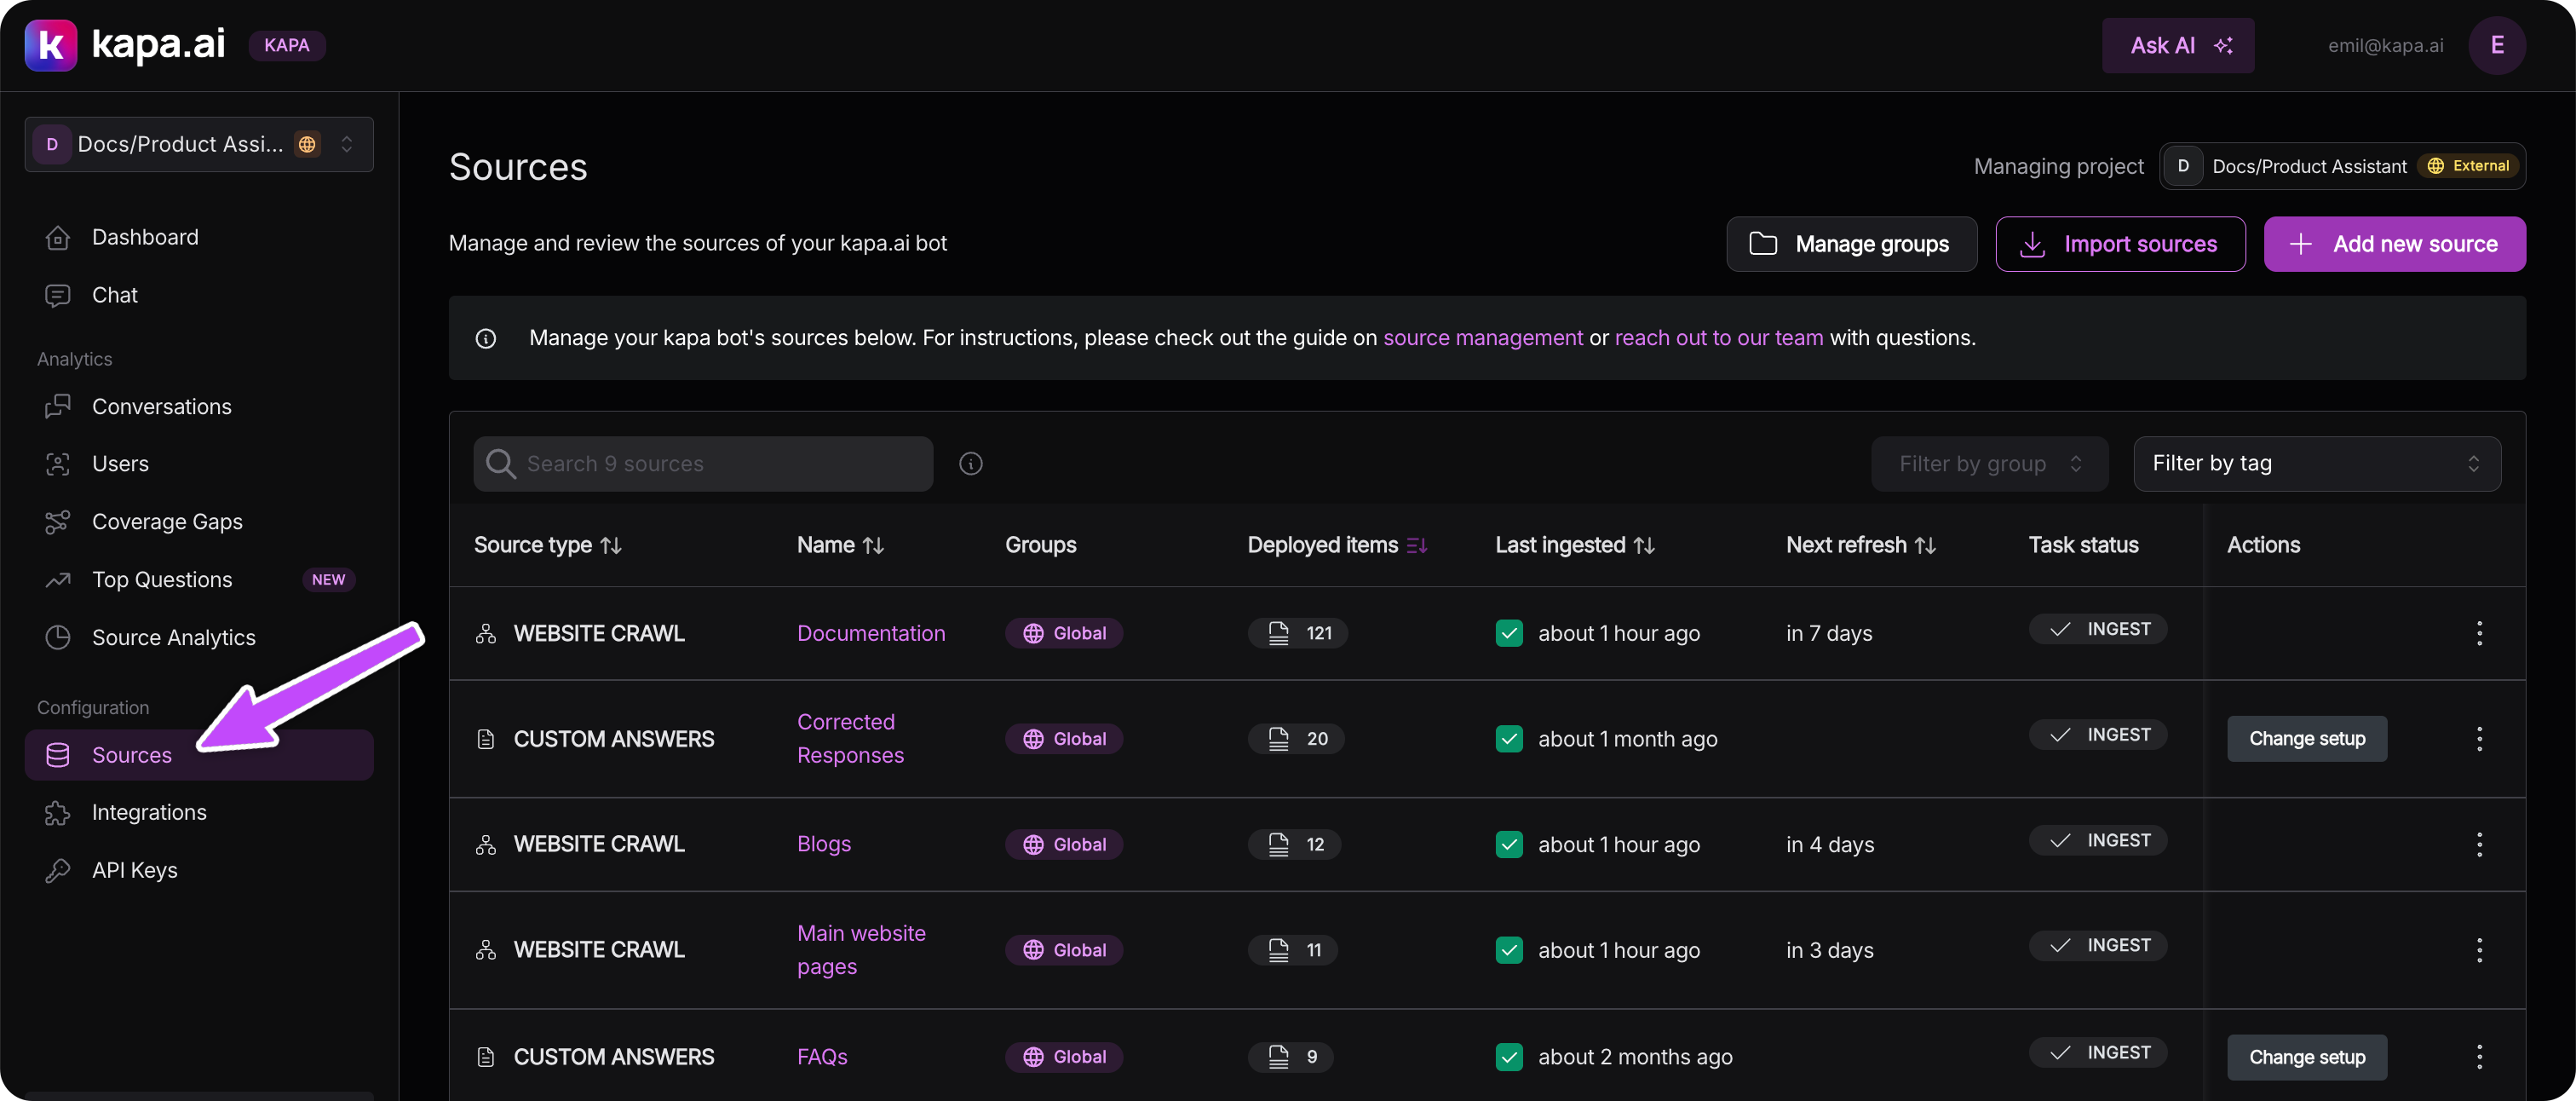
Kapa supports 50+ data sources including documentation, GitHub, Slack, Notion, and more. You can add or adjust sources yourself anytime, or reach out to the Kapa team for help optimizing your knowledge base.
2. Deploy to your documentation
Now you're ready to add the AI assistant to your documentation. Go to Integrations and add a Website Widget, then add a single script tag to your site:
<script
  src="https://widget.kapa.ai/kapa-widget.bundle.js"
  data-website-id="YOUR_WEBSITE_ID"
  data-project-name="Your Project"
  data-project-color="#4A90A4"
></script>
That's it - your users can now ask questions and get instant answers powered by your knowledge base.

See installation guides for Docusaurus, Mintlify, GitBook, and 15+ other platforms.
3. Monitor and improve
Once deployed, use the Analytics dashboard to understand how users interact with your assistant. You'll see what questions are being asked, identify coverage gaps where your docs may be lacking, and discover which content gets used most.
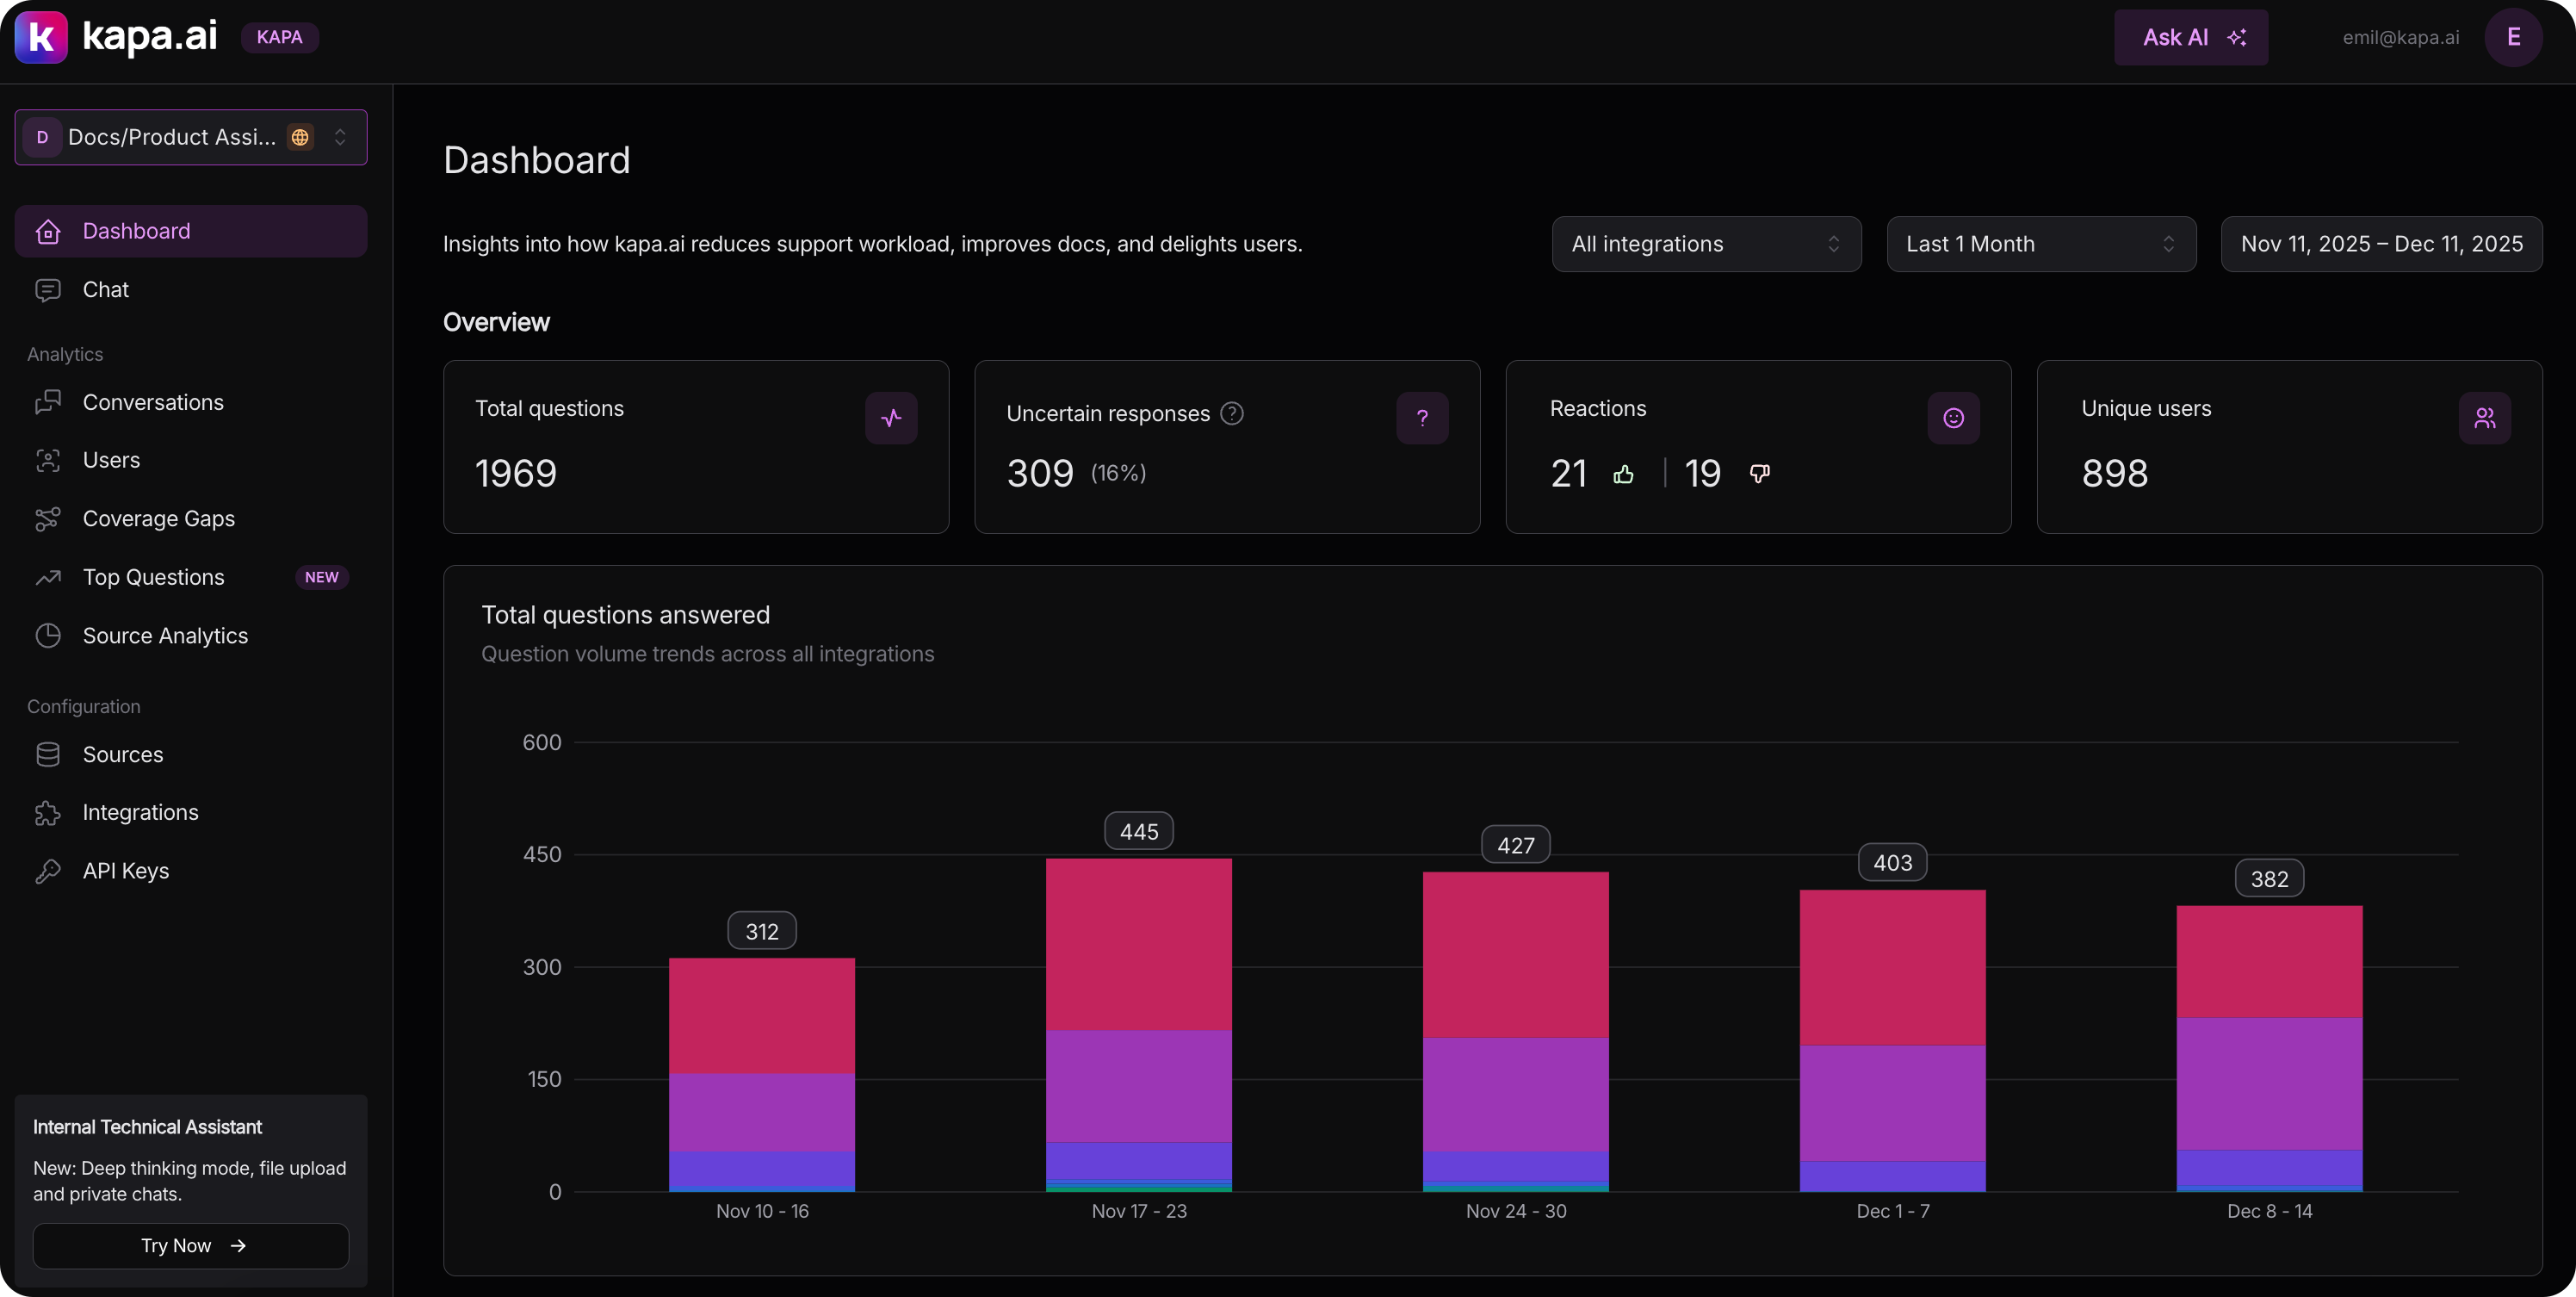
This feedback loop helps you continuously improve your documentation based on real user needs.
4. Expand and go further
Most teams don't stop at docs. Here's where Kapa delivers the most value next:
See all integrations for the full list, or check out our guides for step-by-step tutorials.